How to integrate rich text editor ( react-draft-wysiwyg ) to react app

In this article, you are going to learn how to integrate a rich text editor to your react app.
I have integrated this feature to our Queeery, the web's largest portal for queer events. We are using React for the Front end and Express for the server.
I had to find the right resources and understand well to implement this feature. It took some time and effort. I am making sure that you don’t need to do the same.
Prerequisites
Basic react and react hooks
Working with CLI and NPM packages
What is a rich text editor?
A rich text editor is a tool that allows you to write text as you want with more features and flexibility.
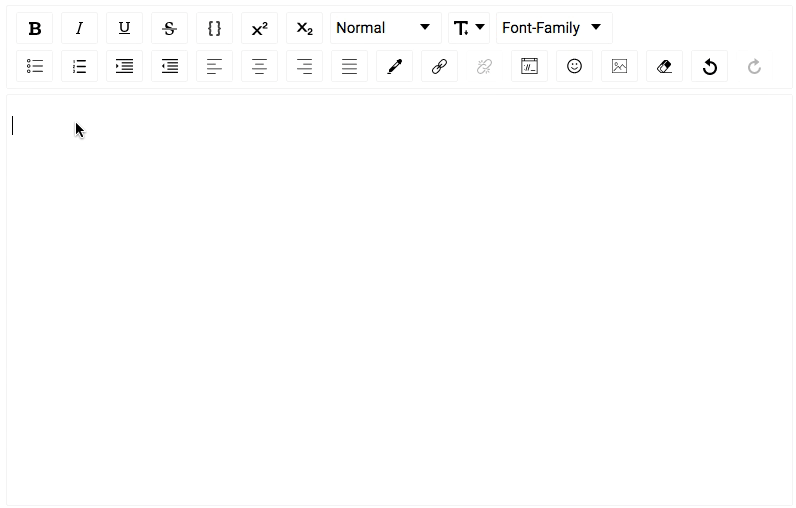
Above GIF is a rich text editor tool from “react-draft-wysiwyg” npm package. It is built upon extending the features of Draftjs.
Getting Started
You need to follow all the steps to accomplish the desired result.
Installation
You can navigate to the root directory of your project where package.json is located.
Open your command-line tool and run the following command.
Install npm package: react-draft-wysiwyg with draftjs by running
yarn add react-draft-wysiwyg draft-js
Or
npm install react-draft-wysiwyg draft-js
and wait till installation completes.
Integration
You need to import both packages to your working file where you want to implement this feature.
1. import { Editor } from 'react-draft-wysiwyg';
2. import { EditorState, convertFromRaw, convertToRaw } from ‘draft-js';// optional ( for default css style )
3. import 'react-draft-wysiwyg/dist/react-draft-wysiwyg.css';
The `Editor` component is a main rich text editor tool.
Importing here multiple data:
EditorState: manage the current state of the Editor component.
ConvertFromRaw: Helps to convert the raw data to object data. So, it can be passed to the editor component as a state to reuse.
convertToRaw: Helps to convert Editor’s current state to raw data. So, it can be sent to the server to retain the state.
3. Optional CSS for the Editor component.
Initial State
You can choose to use the state or not. I will go with the state.
const [editorState, setEditorState] = useState(() => EditorState.createEmpty());
Here, we are defining an initial state with EditorState.createEmpty().
Note: You can ignore the console warning for this state or remove the warning by keeping it null and setting it in the `useEffect` hook.
Manage state
Create a method to manage your Editor component state and do your stuff.
const updateTextDescription = async (state) => {
    await setEditorState(state);
    const data = convertToRaw(editorState.getCurrentContent());
};
You need to convert the `editorState` data to raw data. So, it can be sent to the server to retain the state.
Add the Editor component
You can move this component to code where you want to place your rich text editor.
<Editor
  editorState={editorState}
  toolbarClassName="toolbarClassName"
  wrapperClassName="wrapperClassName"
  editorClassName="editorClassName"
  onEditorStateChange={updateTextDescription}
/>
You need to pass the `editorState` to this Editor component and a method. So, you can track changes and update the state.
You can also pass these extra className properties to style the Editor component as your application taste.
Pat on your back, you have learned to integrate a rich text editor into your app.
Learn, how to retain the previous or saved state and reflect those changes to `editorState`. This feature is for editing the previous retained state.
You can send the `editorState` data to the server after `JSON.stringify()` it or as an object.
But, it must be converted to raw data as I did in the method.
Reflect the previous `editorState`
You might be receiving the previous `editorState` data from server or localStorage or from wherever you kept it.
You need to convert this raw data back to `editorState` supported object.
setEditorState(EditorState.createWithContent(convertFromRaw(JSON.parse(current.description))));
I am updating the `editorState` to the previous state that the application is receiving from `current.description`.
You can `JSON.parse` the data if you had stringified it before storing it somewhere.
It’s done. You can celebrate the joy with your peers and me with just liking and sharing the article or just doing one of it for me. There are similar tools, npm packages are available to use. But, I found this good to go with as it has a good community.
Sometimes. There could be a headache to understand the integration flow of the different packages. I had it and I don't wish that you should have too. Go with one that serves your needs and has good community support.